

In Google Sheets, there is a really easy manner in which you can make the column width automatically fit your text, which is called Fit to information. This is a very helpful and basic trick that will conserve you time, and contribute to your set of important, standard spreadsheet abilities.
When you use the fit to information choice, columns will shrink and broaden automatically so that the columns fit the longest string of text in each column.
To automatically resize column width in Google Sheets to fit text, follow these actions:
- Select the column( s) that you desire to fit to the text inside them
- Click at the top of a chosen column, then click Resize column ….
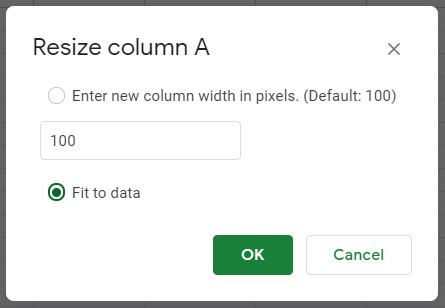
- Click Fit to information, then click, OK.
- Optional shortcut: Hover your cursor at the top-right of the column to be changed, over the line that separates the two columns, and double-click when horizontal arrows that point left and right appear.
After following the actions above, your column or columns will have adjusted so that the width fits the text in each column.
Learn how to develop dashboards in Google Sheets.
Listed below you will discover more comprehensive guidelines on how to instantly resize column width, and after that I will reveal you several more examples. First, let’s go over the Fit to data shortcut, as this will make things quicker for you.
Google Sheets fit to data faster way.
The easiest way to automatically resize column width in Google Sheets is to use the fit to information faster way. When utilizing the fit to information shortcut, rather of clicking and dragging your cursor to manually change column width … all you have to do is double-click to fit the column width to the text in the cells.
To utilize the fit to data faster way, follow these actions
- Hover your cursor at the top-right of the column to be adjusted, over the line that separates the columns. Your cursor will turn into a set of horizontal arrows that point left and.
- Double click your mouse while the horizontal arrows are shown, and your column will instantly change to fit the text.
Ensure that you put your cursor to the right of the column that you wish to change, particularly when just changing one column.
You do not need to pick the column prior to utilizing the faster way if you are just adjusting one column.
You can double-click at the top of any of the chosen columns to change them all at as soon as if you pick multiple columns.
In this lesson I will reveal you how to autofit the width of single columns, and after that I will also show you how to autofit several columns simultaneously.
If you have text inside your cells that is long and rather of adjusting the column width to fit, you ‘d rather have the text resemble a paragraph where it continues a new line each time it reaches the end of a cell, check out the short article below on text wrapping.
How to cover, clip, overflow (unwrap) text in Google Sheets.
How to fit cell width to text in Google Sheets.
So let’s review our first example of fitting cell width to text, and while doing so I will provide you a more detailed set of guidelines than noted above.
In the example information listed below, you will see a list of names and contact number that were gotten in into column A. The text is too long to fit within the cells, and so we will utilize Fit to information to make the column fit the longest piece of text.
Follow these actions to autofit columns in Google Sheets
Step 1Select the columns that you would like to fit to your text if you have multiple columns to change.
Step 2Use either of the methods listed below to use Fit to data
Choice 1
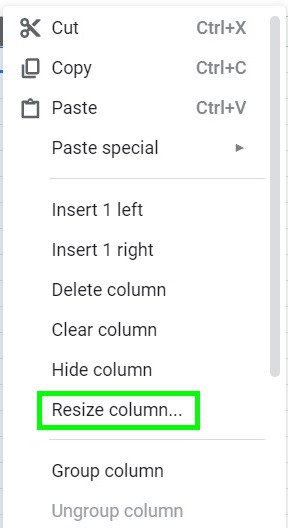
- Right-click on the column that you desire to change, and select Resize column ….
- Click Fit to data.
- Click OKAY.
Alternative 2
- Double-click at the top-right of the column that you wish to automatically change.
( Notice the horizontal arrows at the top of the column in the image listed below. When you are all set to double-click your mouse to utilize the fit to data faster way.), this is how your cursor needs to look.
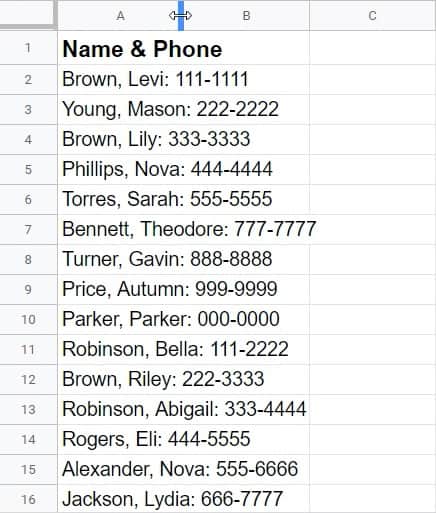
The image below shows the outcomes of using Fit to data, and as you can see, column A has actually been broadened to fit the longest string of text in that column, which in this case remains in row 7 (Cell A7).
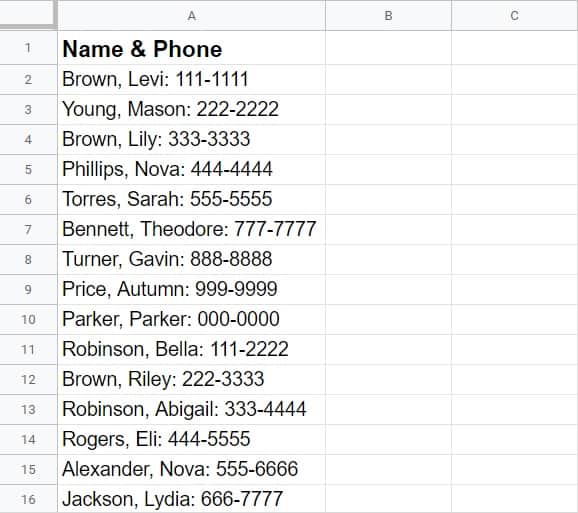
Now the names and contact number fit inside the cells, and we made this take place without needing to manually set the column width.
For the remainder of the examples in this lesson, I will describe the double-click shortcut approach for fitting columns to information immediately. But if you choose to use the right-click/menu method as described above, this is great too.
How to expand columns to fit text in Google Sheets.
Now let’s take a look at an example of adjusting numerous columns at one time, to fit the text that is inside of them.
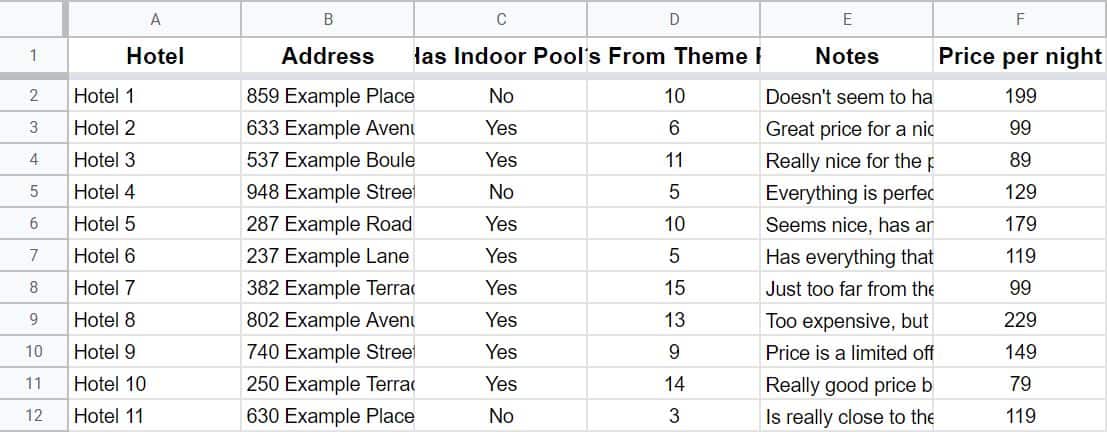
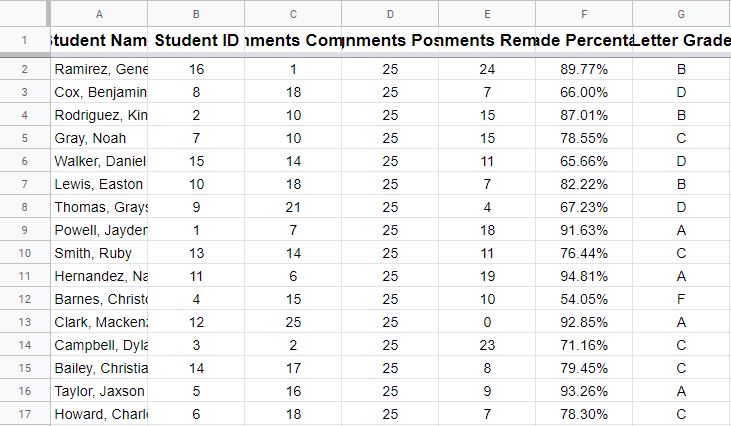
The image below programs details that was tape-recorded about varying hotel possibilities for a holiday.
As you can see, the header text in columns C and D do not fit inside the cells. The text that remains in the non-header rows in columns B and E (addresses and notes), does not fit inside the cells either.
We are going to automatically resize columns A through F, to make the columns fit the text in the cells. To do this follow the steps listed below.
Start by selecting columns A through F.
To pick several columns at the same time, click the letter A at the top of the very first column, and without releasing your click, drag your cursor right until you reach the letter F (then launch mouse click).
Or, you can likewise pick several columns by choosing column A, then pushing the right arrow on the keyboard repeatedly, while holding the shift key, to choose extra columns to the right.
When the columns are properly picked, the top of each picked column will turn dark grey, and the cells in the columns will be highlighted with blue color.
Now hover your cursor over the line between any two of the picked columns, at the extremely top of the columns.
As you can see in the image below, when your cursor is in the right position to change columns, the cursor will appear as a set of arrows which point left and. But rather of clicking and dragging your cursor to adjust the columns, we will use the fit to information shortcut.
Now simply double-click your mouse, and the columns will immediately adapt to fit the data in each column.
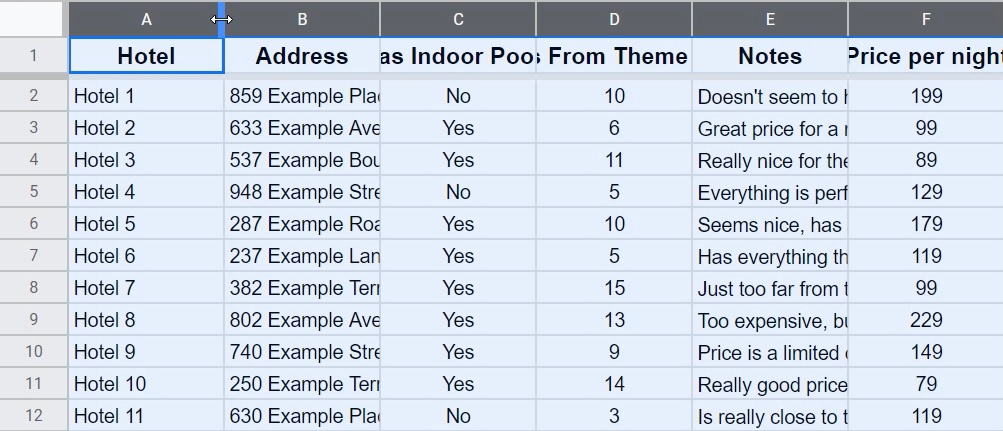
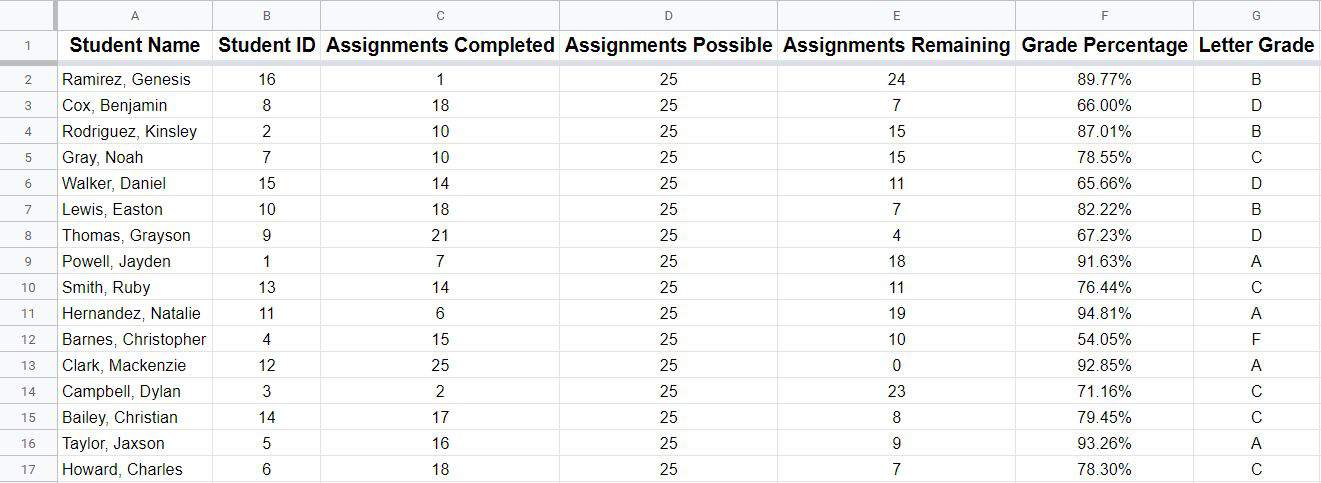
In the image listed below, note that some of the columns were widened, and a few of them were narrowed. Each column has adjusted to fit the longest string of text that remains in that column.
Now you have the ability to see the header text, the address for each hotel, and the notes that were tape-recorded for each hotel.

How to diminish columns to fit text in Google Sheets.
The fit to data choice in Google Sheets is also beneficial for shrinking columns to fit text.
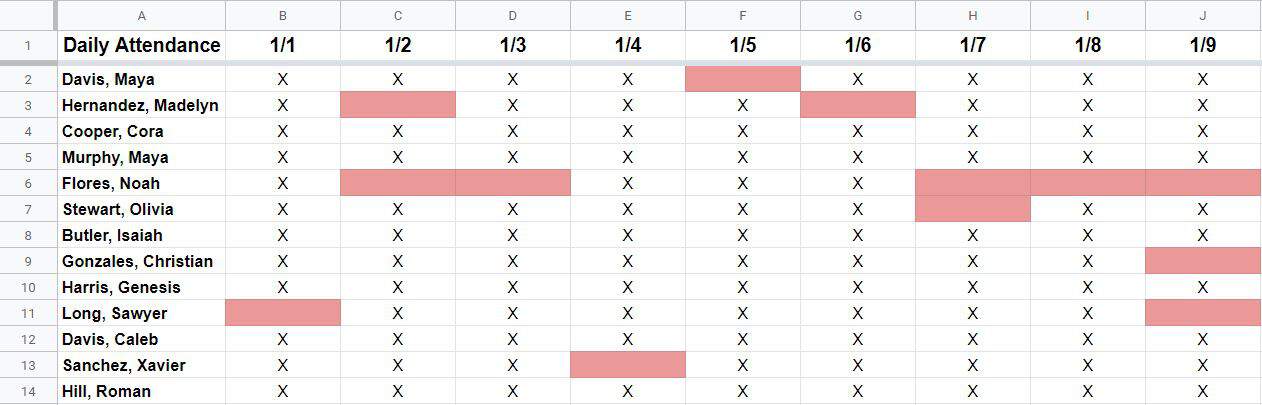
An example of this would be when you are tracking daily participation in a spreadsheet, and you want the columns for each day to fit the narrow text inside of them.
In the image below you can see that the columns are much wider than they require to be, therefore we can use Fit to data to automatically adjust the columns to fit the text.
To diminish the columns to fit the text displayed in this example, follow these steps
- Select columns B through J.
- Double-click on the line that separates any of the 2 picked columns (at the extremely leading of the columns), to utilize the Fit to information faster way.
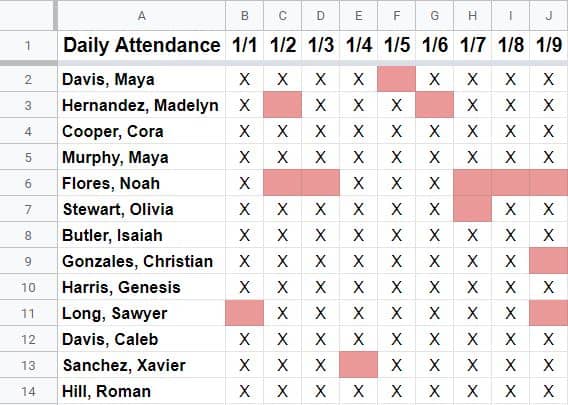
After utilizing Fit to data, the columns have narrowed to fit the text inside of each column, and the daily participation now looks much cleaner and more compact (as revealed listed below).
Due to the fact that of the balance in between the text height and text length, the cells have now become nearly ideal squares, which is perfect for taping things like participation.
How to autofit columns to headers.
Another situation where Fit to data is extremely beneficial, is when you have headers that are too long to fit inside the default cell width, and you wish to rapidly change each column to fit the headers.
In the image below, you can see that the text that remains in row 1 can not be seen completely, and so we will autofit the columns to fit the longest string of text in each column.
To instantly change column width to fit the headers in this example, follow these steps
- Select columns A through G.
- Double-click on the line that separates any of the 2 selected columns, at the top of the columns.
After using Fit to information, the columns broadened to fit the text that is in row 1, as displayed in the image below.
Note that some of the columns are broader than others, due to the differing text length in each cell in row 1.
Column A has expanded to fit the longest name because column, as the longest name is longer than the text that remains in the header for that particular column.
How to resize all columns to suit Google Sheets.
Let’s take an appearance at one more example, where we will instantly adjust the column width to fit the text in the cells, however in this example we will resize all of the columns to fit the text.
Listed below the image shows recorded time trial information.
We will use Fit to information to resize every column, which in this case will narrow the columns.
To resize all columns in Google Sheets, follow these actions
- Select every column in your sheet (or every column that you want to adjust).
- Right-click at the top of any of the choose columns, click Resize columns, choose Fit to information, and then click OK.
- Or, if you want, you can utilize the Fit to data shortcut, by double-clicking on the barrier between any two of the picked columns (at the top of the columns).
Given that the recorded duration values for each time trial are the same length, the columns have each shrunk down to the same width after using Fit to information.
Now you will have the ability to rapidly and quickly make your columns fit the text that is within them!
More Job/Career Ideas & Resources
This can conserve you great deals of time, and in general will make nearly all of your professional spreadsheet jobs much easier.
Article source: https://www.spreadsheetclass.com/automatically-resize-columns-in-google-sheets-with-fit-to-data/


